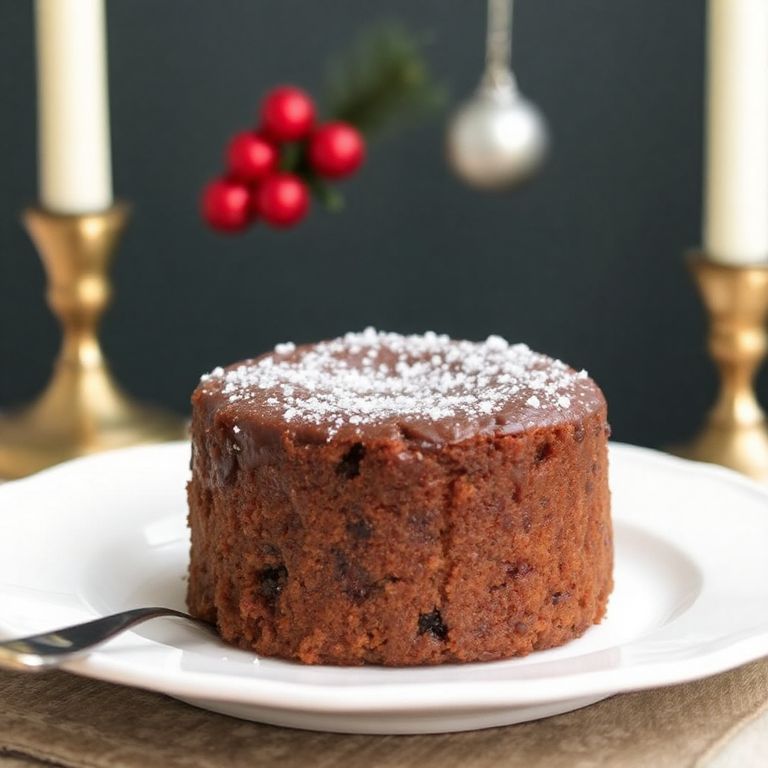
Easy Christmas Sugar Cookies: A Festive Holiday Treat
Christmas baking wouldn’t be complete without the classic sugar cookie. These delightfully sweet, buttery cookies are perfect for celebrating the holiday season. Whether you’re hosting a cookie decorating party, preparing treats for Santa, or sharing homemade gifts with loved ones, these easy Christmas sugar cookies are guaranteed to spread joy and create lasting memories. With their crisp edges, soft centers, and endless decorating possibilities, they’ve become a beloved holiday tradition in homes around the world.
Ingredients
| Ingredient | Amount |
|---|---|
| All-purpose flour | 3 cups |
| Unsalted butter, softened | 1 cup |
| Granulated sugar | 1½ cups |
| Large eggs | 2 |
| Pure vanilla extract | 2 teaspoons |
| Baking powder | 1½ teaspoons |
| Salt | ½ teaspoon |
For Decorating (Optional)
| Ingredient | Amount |
|---|---|
| Royal icing | 2 cups |
| Food coloring | As needed |
| Sprinkles | As desired |
Step-by-Step Instructions
1. Prepare the Dough
Begin by creaming together the softened butter and sugar in a large bowl until light and fluffy, about 3-4 minutes. This step is crucial for achieving the perfect cookie texture. Next, add the eggs one at a time, beating well after each addition. Stir in the vanilla extract until well combined.
2. Mix Dry Ingredients
In a separate bowl, whisk together the flour, baking powder, and salt. This ensures even distribution of the leavening agents. If you enjoy making homemade treats, you might also like these easy pizza pot pie recipes for another fun cooking project.
3. Combine Wet and Dry Ingredients
Gradually add the dry ingredients to the wet mixture, mixing until just combined. Be careful not to overmix, as this can lead to tough cookies. The dough should be soft but not sticky.
4. Chill the Dough
Divide the dough into two portions and shape each into a disk. Wrap in plastic wrap and refrigerate for at least 2 hours or overnight. This step is essential for easy rolling and clean cookie cuts.
5. Roll and Cut
Preheat your oven to 375°F (190°C) and line baking sheets with parchment paper. On a lightly floured surface, roll out one portion of dough to about ¼-inch thickness. Cut into desired shapes using Christmas-themed cookie cutters.
6. Bake to Perfection
Place cookies on prepared baking sheets, spacing them about 1 inch apart. Bake for 8-10 minutes, or until edges are lightly golden. The centers should still be soft, as they’ll continue cooking slightly after removal from the oven. Looking for more holiday cooking ideas? Check out these budget-friendly casseroles.
7. Cool and Decorate
Allow cookies to cool on the baking sheet for 5 minutes before transferring to a wire rack to cool completely. Once cooled, decorate as desired with royal icing, sprinkles, or your favorite cookie decorations.
Storage Tips
Store decorated cookies in an airtight container, separated by layers of parchment paper, for up to 1 week. Undecorated cookies can be frozen for up to 3 months. For more food storage tips, explore these one-pot casserole meals that are perfect for batch cooking.
Conclusion
These easy Christmas sugar cookies are more than just a sweet treat – they’re a canvas for creativity and a way to bring holiday cheer to your kitchen. Whether you’re an experienced baker or just starting out, this recipe provides the perfect foundation for creating beautiful, delicious cookies that will become a cherished part of your holiday traditions.
FAQ
Q: Can I make the dough ahead of time?
A: Yes! The dough can be made up to 3 days in advance and stored in the refrigerator. You can also freeze the dough for up to 3 months. Just thaw overnight in the refrigerator before using.
Q: Why do my cookies spread too much during baking?
A: If your cookies are spreading too much, it’s likely because the dough is too warm. Make sure to chill the dough thoroughly and keep cut cookies cold until they go into the oven. Also, avoid greasing your baking sheets – use parchment paper instead.
Q: Can I skip the chilling step?
A: While you might be tempted to skip chilling the dough, it’s an essential step for achieving clean-cut shapes and preventing spread during baking. The chilling time allows the butter to solidify and the flour to hydrate properly, resulting in better-shaped cookies.


