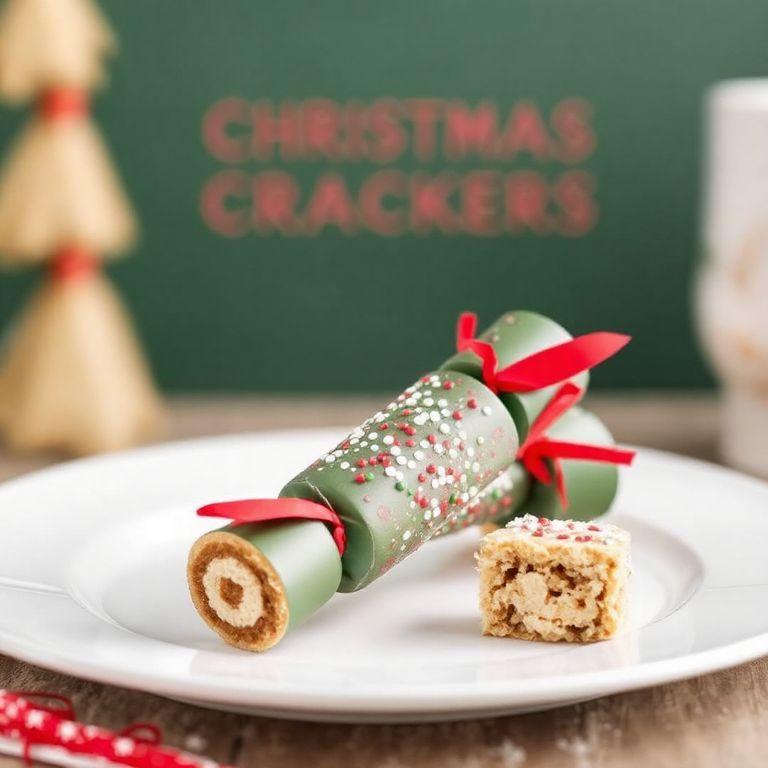
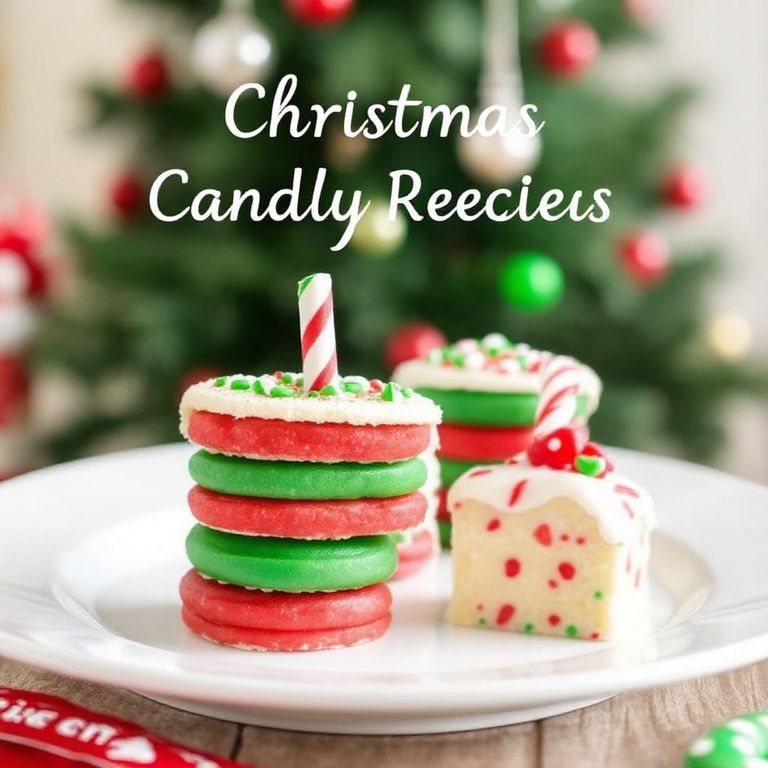
The Perfect Christmas Crackers Recipe for Your Holiday Table
Making homemade Christmas crackers has become one of my favorite holiday traditions.
These delightful treats combine a satisfying crunch with festive flavors that instantly bring holiday cheer.
Unlike store-bought versions, these homemade Christmas crackers have a special touch that makes them absolutely irresistible.
The beauty of this recipe lies in its versatility – you can customize the flavors and decorations to match your holiday theme.
Ingredients You’ll Need
| Ingredient | Amount |
|---|---|
| All-purpose flour | 3 cups |
| Unsalted butter (cold) | 1 cup |
| Granulated sugar | 1/2 cup |
| Salt | 1/2 teaspoon |
| Vanilla extract | 1 teaspoon |
| Almond extract | 1/4 teaspoon |
| Ice water | 4-6 tablespoons |
| Holiday sprinkles | 1/2 cup |
| White chocolate (for decorating) | 8 ounces |
Step-by-Step Instructions
Preparing the Dough
First, I always make sure to chill my tools and ingredients.
In my large mixing bowl, I combine the flour and salt, giving them a good whisk.
Next, I cube the cold butter into small pieces – this is crucial for that perfect cracker texture!
Using my pastry cutter (though clean fingers work too), I work the butter into the flour until it resembles coarse crumbs.
The mixture should feel a bit like wet sand when you squeeze it.
Making the Perfect Cracker Texture
Now comes the tricky part – adding just enough water.
I start with 4 tablespoons of ice-cold water, drizzling it in slowly while stirring.
The key here is not to overwork the dough – that’s what makes tough crackers!
If needed, I add more water, one tablespoon at a time, until the dough just barely comes together.
When I can form it into a ball without it crumbling, it’s perfect.
Rolling and Cutting
After wrapping the dough in plastic, I let it chill for at least an hour.
This resting time is non-negotiable for the best Christmas crackers!
Once chilled, I roll the dough out on a lightly floured surface to about 1/8 inch thickness.
Using my favorite holiday cookie cutters, I cut out festive shapes.
Don’t forget to gather and re-roll scraps – waste not, want not!
The Baking Process
My oven needs to be preheated to 350°F (175°C).
I line my baking sheets with parchment paper – it prevents sticking and makes cleanup a breeze.
The crackers need space, so I place them about an inch apart.
Before baking, I prick each cracker with a fork to prevent puffing.
Into the oven they go for 12-15 minutes, until the edges are just turning golden.
Watch them carefully – the difference between perfect and burnt is just minutes!
Decorating Your Christmas Crackers
Once cooled completely, it’s time for the fun part – decorating!
I melt the white chocolate in a double boiler, stirring until smooth.
Using a piping bag or spoon, I drizzle patterns onto each cracker.
While the chocolate is still wet, I sprinkle on my holiday decorations.
Some of my favorites are red and green sprinkles, silver dragées, or crushed candy canes.
Let them set completely before storing – usually takes about an hour.
Storage and Serving Tips
These Christmas crackers keep wonderfully in an airtight container for up to two weeks.
I layer them between sheets of parchment paper to prevent sticking.
They’re perfect for holiday gift boxes, cookie exchanges, or simply enjoying with afternoon tea.
The crackers pair beautifully with hot cocoa, mulled wine, or a festive eggnog.
Final Thoughts
Creating these Christmas crackers has become such a special part of my holiday baking routine.
There’s something magical about the way they fill the house with a buttery, vanilla-scented aroma.
Every year, my family looks forward to helping decorate these festive treats.
The recipe might seem detailed, but trust me – the results are worth every minute.
Remember, the key to perfect Christmas crackers is patience, cold ingredients, and lots of holiday spirit!
Whether you’re an experienced baker or trying this for the first time, I’m confident you’ll love these homemade delights.
They’re the perfect addition to any holiday celebration or cookie platter.


