The Ultimate Butterfinger No-Bake Pie Recipe
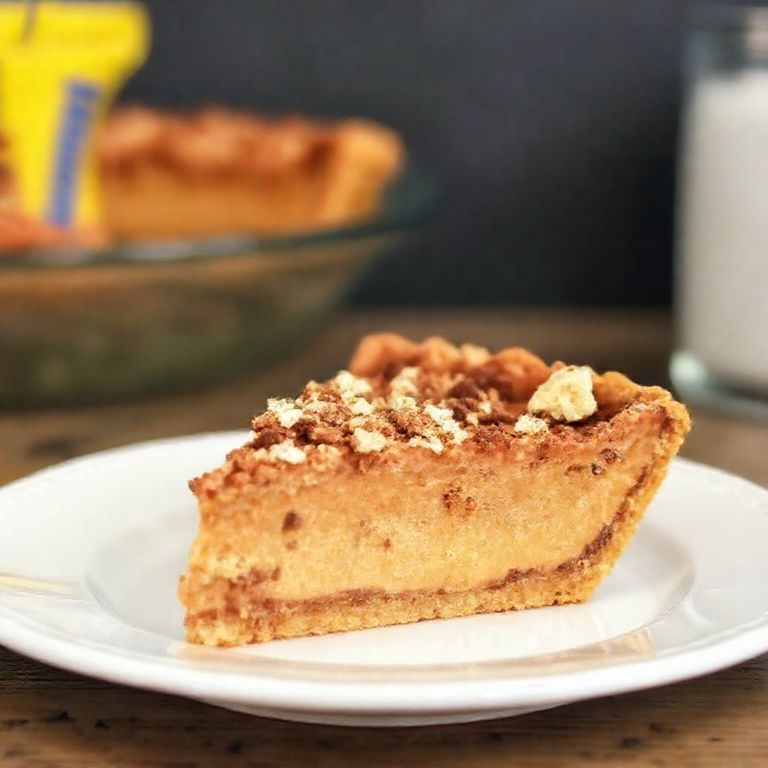
This incredible Butterfinger no-bake pie is a heavenly combination of creamy peanut butter, crushed Butterfinger candy bars, and a silky smooth filling that’ll make your taste buds dance with joy.
I’m absolutely thrilled to share this family-favorite dessert that’s become a staple at our gatherings.
The best part? You don’t even need to turn on your oven!
This dreamy pie features a buttery graham cracker crust, topped with layers of peanut butter perfection and chunks of everyone’s favorite candy bar.
When summer hits and it’s too hot to bake, this no-bake wonder becomes my go-to dessert for potlucks and family dinners.
Ingredients for Your Butterfinger No-Bake Pie
| Ingredient | Amount |
|---|---|
| Graham crackers | 1½ cups (crushed) |
| Melted butter | 6 tablespoons |
| Cream cheese (softened) | 8 ounces |
| Creamy peanut butter | 1 cup |
| Powdered sugar | 1 cup |
| Heavy whipping cream | 2 cups |
| Vanilla extract | 1 teaspoon |
| Butterfinger candy bars | 4 regular-sized bars |
| Cool Whip | 8 ounces |
Step-by-Step Instructions
Preparing the Crust
First, grab your food processor and pulse those graham crackers until they’re super fine.
Mix the crumbs with melted butter until they look like wet sand.
Press this mixture firmly into your 9-inch pie dish, making sure to get up the sides too.
Pop it in the fridge while you work on the filling.
Trust me, this cool-down time helps the crust set perfectly!
Creating the Filling
In your mixer bowl, beat the softened cream cheese until it’s light and fluffy – about 2 minutes.
Add the peanut butter and keep mixing until everything’s well combined.
Gradually add the powdered sugar (unless you want a sugar cloud in your kitchen!).
In a separate bowl, whip up that heavy cream with vanilla until stiff peaks form.
Gently fold the whipped cream into your peanut butter mixture – this is what makes it extra fluffy!
Crush 3 of your Butterfinger bars into chunks (save one for topping).
Fold those crunchy pieces into your filling mixture.
Assembly and Decoration
Spread your filling evenly into the chilled crust.
Top with Cool Whip, spreading it right to the edges.
Crush that last Butterfinger bar and sprinkle it all over the top.
Now comes the hard part – pop it in the fridge for at least 4 hours, but overnight is even better!
Tips for the Perfect Butterfinger No-Bake Pie
Make sure your cream cheese is properly softened – I usually leave it out for about an hour.
Don’t skimp on the chilling time – it really needs those hours to set properly.
Use regular peanut butter, not the natural kind that separates.
Keep those Butterfinger pieces chunky – don’t pulverize them into dust!
Store your pie in the fridge for up to 5 days (if it lasts that long!).
For easier slicing, dip your knife in hot water and wipe it clean between cuts.
Variations to Try
Sometimes I use an Oreo crust instead of graham crackers for an extra chocolatey twist.
Try mixing in some chocolate chips for added decadence.
You can substitute the Cool Whip with homemade whipped cream if you prefer.
For a nutty crunch, add some chopped peanuts to the topping.
During holiday seasons, I sometimes drizzle chocolate sauce in a festive pattern on top.
Conclusion
This Butterfinger no-bake pie is honestly one of the easiest and most rewarding desserts you’ll ever make.
It’s perfect for those hot summer days when you can’t bear to turn on the oven.
The combination of creamy filling and crunchy candy pieces creates an irresistible texture that’ll have everyone asking for seconds.
Whether you’re hosting a party or just craving something sweet, this pie never disappoints.
I’ve made this countless times, and it’s always a crowd-pleaser – even the kids help crush the candy bars!
Give this recipe a try, and I promise it’ll become one of your go-to desserts too.
Don’t forget to let me know how it turns out in the comments below!


