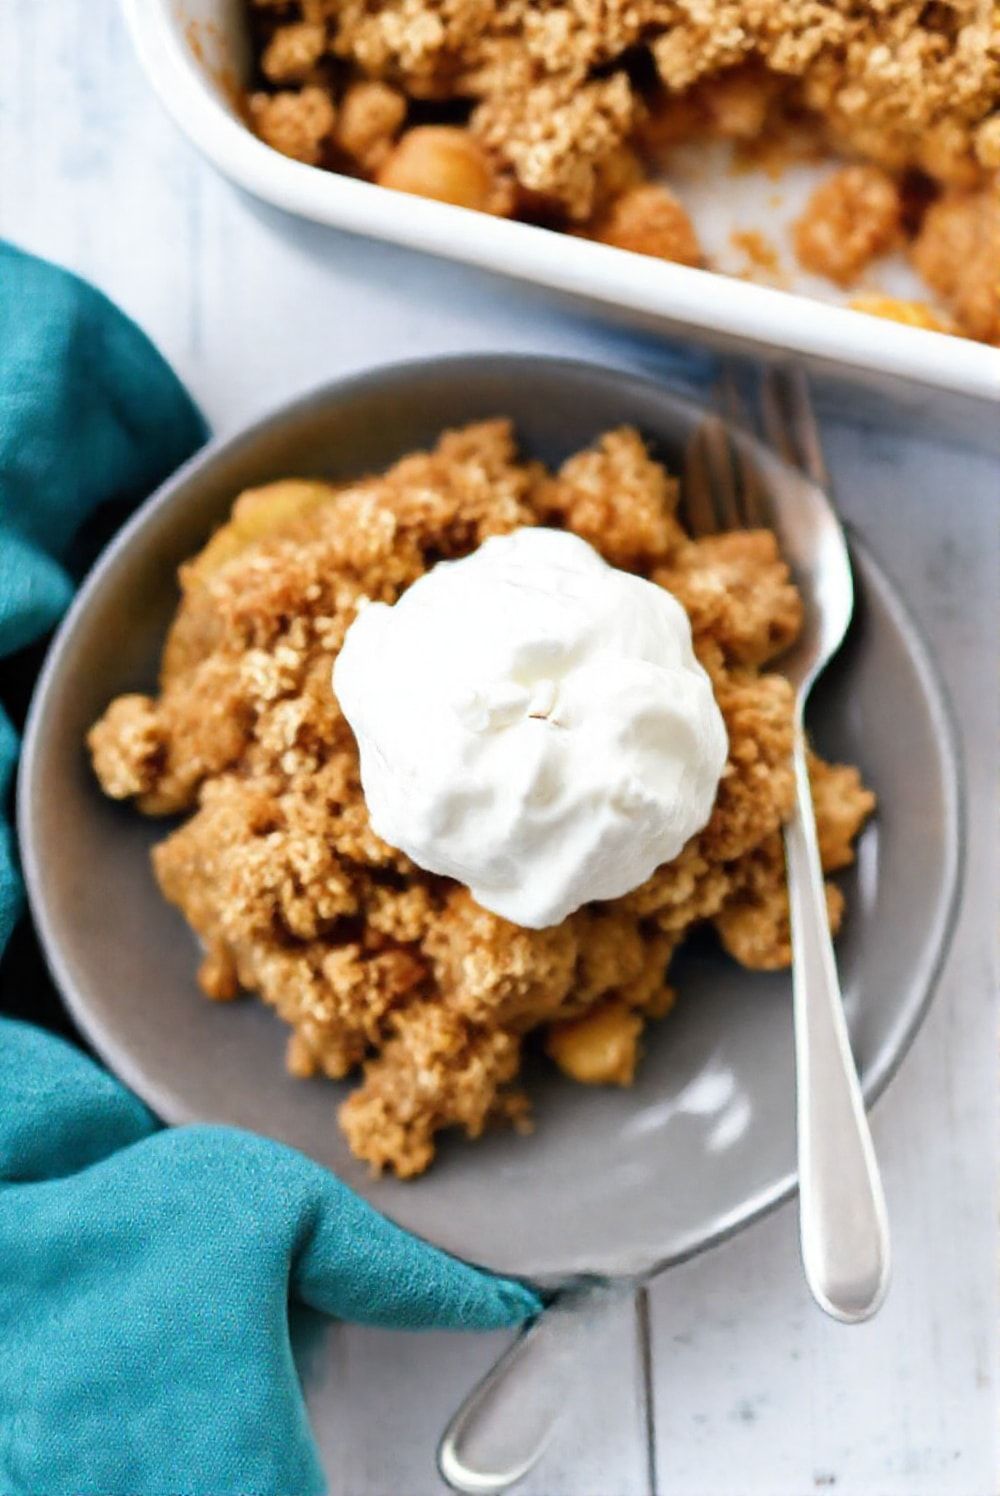
The Perfect Homemade Apple Crisp with Oat Topping
There’s nothing quite as comforting as a warm Apple Crisp with Oat Topping fresh from the oven on a cool autumn evening.
This classic dessert combines the sweetness of tender baked apples with a perfectly crispy, buttery oat topping that’ll make your kitchen smell absolutely heavenly.
I’ve spent years perfecting this recipe, tweaking little details until I got it just right.
The secret lies in the balance between the tender, juicy apple filling and that irresistibly crunchy oat topping that gives this dessert its signature texture.
What makes this Apple Crisp with Oat Topping special is the combination of different apple varieties and the perfect blend of warm spices that’ll remind you of grandma’s kitchen.
Ingredients You’ll Need
| Ingredient | Amount |
|---|---|
| Granny Smith apples | 4 large |
| Honeycrisp apples | 2 large |
| Old-fashioned rolled oats | 1 cup |
| All-purpose flour | 1 cup |
| Brown sugar | 3/4 cup |
| Ground cinnamon | 1 tablespoon |
| Ground nutmeg | 1/4 teaspoon |
| Unsalted butter | 1/2 cup (1 stick) |
| Granulated sugar | 1/4 cup |
| Salt | 1/4 teaspoon |
| Lemon juice | 1 tablespoon |
Step-by-Step Instructions
Preparing the Apples
First, preheat your oven to 375°F (190°C).
Grease a 9×13 inch baking dish with butter or cooking spray.
Wash and peel your apples – I like using a combination of Granny Smith and Honeycrisp for the perfect balance of tart and sweet.
Core the apples and cut them into uniform slices, about 1/4 inch thick.
Place the apple slices in a large bowl and toss them with lemon juice to prevent browning.
Add the granulated sugar and 1 teaspoon of cinnamon, mixing well to coat all the slices evenly.
Making the Oat Topping
In a separate bowl, combine the rolled oats, flour, brown sugar, remaining cinnamon, nutmeg, and salt.
Cut the cold butter into small cubes.
Using your fingers or a pastry cutter, work the butter into the dry ingredients until the mixture resembles coarse crumbs.
This is the key to achieving that perfect crispy topping – don’t overmix!
The mixture should hold together when squeezed but still be somewhat crumbly.
Assembly and Baking
Transfer the seasoned apple slices to your prepared baking dish, arranging them evenly.
Don’t worry if they’re piled high – they’ll cook down during baking.
Sprinkle the oat topping evenly over the apples, making sure to cover the entire surface.
Gently pat down the topping to ensure it adheres to the apples.
Place the baking dish on a large baking sheet (to catch any potential overflow).
Bake for 45-50 minutes, or until the topping is golden brown and the apples are tender when pierced with a fork.
You should see the apple filling bubbling around the edges when it’s done.
Serving and Storage
Let your Apple Crisp with Oat Topping cool for about 15-20 minutes before serving.
This cooling period allows the filling to set slightly and makes serving easier.
Serve warm with a scoop of vanilla ice cream or a dollop of whipped cream.
For storage, cover the cooled crisp with plastic wrap or aluminum foil and refrigerate for up to 5 days.
To reheat, simply pop individual portions in the microwave for 30-45 seconds, or place the entire dish in a 350°F oven for about 15 minutes.
Tips for the Perfect Apple Crisp
Use a mixture of apple varieties for the best flavor and texture.
Make sure your butter is cold when preparing the topping – this ensures the best crumbly texture.
Don’t skip the lemon juice – it not only prevents browning but adds a bright note to the filling.
If your topping starts browning too quickly during baking, tent the dish with aluminum foil.
For extra crunch, you can add 1/2 cup of chopped nuts to the topping mixture.
Conclusion
This Apple Crisp with Oat Topping recipe is truly a crowd-pleaser that’s perfect for any occasion.
Whether you’re hosting a holiday dinner or just craving a cozy dessert, this recipe won’t disappoint.
The combination of tender, spiced apples and that irresistibly crispy oat topping creates a dessert that’s both comforting and impressive.
Give it a try, and I’m sure it’ll become one of your favorite go-to dessert recipes!


