The Perfect No-Bake Cheesecake Recipe
If you’re craving a delicious no-bake cheesecake that’s creamy, smooth, and absolutely heavenly, you’ve come to the right place!
This recipe has been tweaked and perfected over countless attempts in my kitchen, and I’m excited to share it with you.
What makes this no-bake cheesecake special is its perfect consistency – firm enough to hold its shape but still wonderfully creamy.
Unlike traditional baked cheesecakes, this version doesn’t require an oven, making it perfect for hot summer days or when you’re short on time.
The secret lies in the perfect balance of ingredients and the proper chilling time.
Ingredients You’ll Need
| Ingredient | Amount |
|---|---|
| Graham crackers | 2 cups (crushed) |
| Unsalted butter (melted) | 1/2 cup |
| Cream cheese (room temperature) | 24 oz (3 blocks) |
| Granulated sugar | 1 cup |
| Heavy whipping cream | 1 cup |
| Vanilla extract | 1 tablespoon |
| Lemon juice | 2 tablespoons |
| Powdered sugar | 1/4 cup |
Step-by-Step Instructions
Preparing the Crust
First, grab your food processor and crush those graham crackers until they’re fine crumbs.
Mix the crumbs with melted butter until it resembles wet sand.
Press this mixture firmly into the bottom of a 9-inch springform pan.
Pop it in the fridge while you work on the filling.
I like to use the bottom of a measuring cup to really pack that crust down tight!
Making the Filling
In a large bowl, beat the cream cheese until it’s super smooth and creamy – no lumps allowed!
This usually takes about 3-4 minutes with an electric mixer.
Gradually add the granulated sugar while continuing to beat.
The mixture should become light and fluffy.
Add the vanilla extract and lemon juice, mixing until well combined.
In a separate bowl, whip the heavy cream with powdered sugar until stiff peaks form.
This is crucial for the perfect no-bake cheesecake texture!
Gently fold the whipped cream into the cream cheese mixture.
Take your time with this step – we want to keep all that air in there for a light, fluffy texture.
Assembly and Chilling
Pour the filling into your prepared crust.
Smooth the top with a spatula or the back of a spoon.
Cover with plastic wrap, making sure it doesn’t touch the surface of the cheesecake.
Now for the hardest part – waiting!
Refrigerate for at least 6 hours, but overnight is best.
Trust me, the waiting is worth it for that perfect slice of no-bake cheesecake!
Tips for the Perfect No-Bake Cheesecake
Always use room temperature cream cheese – this prevents lumps in your filling.
Don’t skimp on the chilling time – it’s essential for the perfect texture.
Make sure your heavy cream is cold before whipping.
The lemon juice isn’t just for flavor – it helps set the filling.
If your crust seems too crumbly, add a bit more melted butter.
Want to check if it’s set? Give the pan a gentle shake – the cheesecake should be firm with a slight jiggle.
Variations and Toppings
This no-bake cheesecake is delicious on its own, but feel free to get creative!
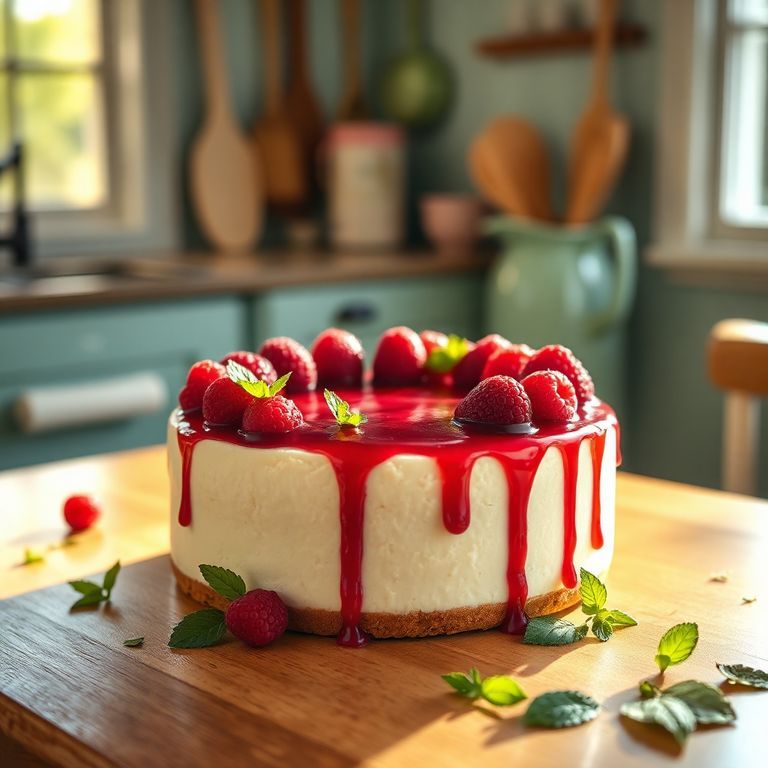
Try adding fresh fruit toppings like strawberries, blueberries, or raspberries.
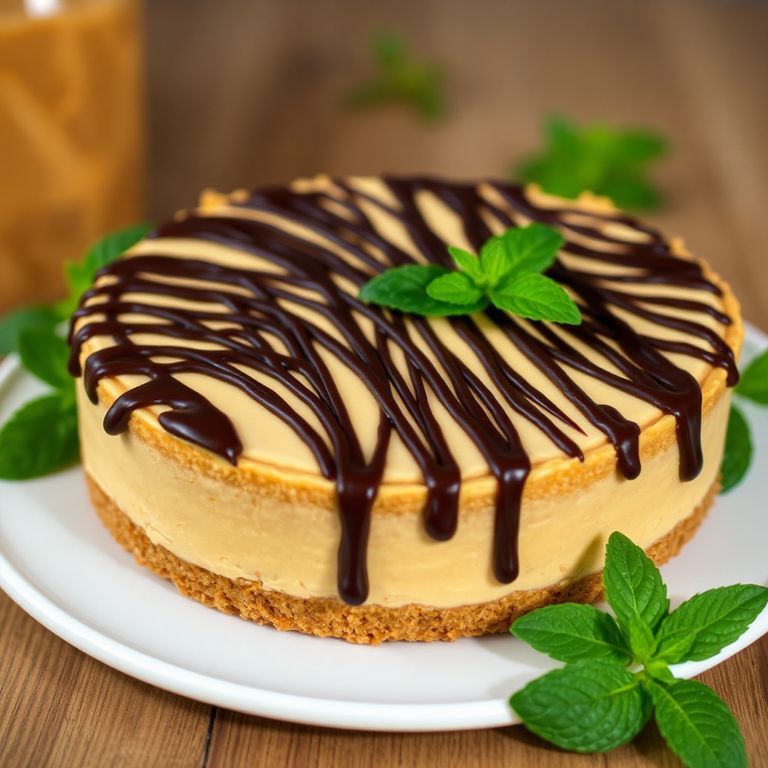
A drizzle of caramel or chocolate sauce takes it to the next level.
You can even swirl in some fruit preserves before chilling.
For a chocolate version, fold in some melted and cooled chocolate into the filling.
The possibilities are endless!
Storage Tips
Keep your no-bake cheesecake refrigerated when not serving.
It will stay fresh for up to 5 days if properly stored.
You can even freeze individual slices for up to 3 months.
Just wrap them well in plastic wrap and aluminum foil.
Thaw frozen slices overnight in the refrigerator before serving.
Final Thoughts
This no-bake cheesecake recipe has become my go-to dessert for family gatherings and potlucks.
It’s always a crowd-pleaser and people can’t believe it’s not baked!
The best part is how versatile it is – you can customize it with different toppings and flavors.
Whether you’re an experienced baker or just starting out, this recipe is foolproof and delivers amazing results every time.
Give it a try, and I’m sure it’ll become one of your favorite desserts too!


